Plutus developer environment setup on MacOS Monterey
🤖 Plutus developer environment setup
The “Plutus Env: Setup starter pack” document was provided here , which links to external resources, such as the Plutus community docs , where you’ll find instructions for your operating system.
For this particular guide, we’ll use MacOS, but the required steps should be quite similar and useful if you are trying to get started.
👨🏾💻 MacOS#
The following guideline was written while experiencing the process on:
- MacOS Monterey (v12.0.1)
- i9 intel chip processor
- 16gb ram
⚙️ Setup#
Currently, the Plutus development experience is not great and more often than not, we find ourselves in situations where something builds and work in one machine and doesn’t in another.
In many cases, those problems are a symptom of what developers face: the lack of reproducibility. The source code depends on a very particular environment (e.g. variables, library versions), and such differences cause unwanted behaviour.
Such problems are very hard to troubleshoot but there is a tool that can help solve those issues, called Nix .
We’ll use the Nix tool for package management and system configuration to make reproducible, declarative and reliable systems.
💡Nix CLI is Nix. Nixpkgs is the largest package collection described in Nix language for use with Nix, NixOS is a systemd/GNU/Linux distribution using Nix and Nixpkgs.
1) Install Nix#
Here’s the recommended command to install Nix:
sh <(curl -L https://nixos.org/nix/install) --daemon
💡 Other tutorials mention the flag -darwin-use-unencrypted-nix-store-volume, which might be because of previous lack of support of read-only support, as it now declared “We believe we have ironed out how to cleanly support the read-only root on modern macOS”.
After Nix is installed, you are required to restart the shell session, or otherwise source your shell profile!
2) Edit the Nix configuration file#
The /etc/nix/nix.conf is the system-wide configuration file (in most systems located in /etc/nix/nix.conf as described in the documentation
).
Here’s how mine looks like after the updates:
build-users-group = nixbld
substituters        = https://hydra.iohk.io https://iohk.cachix.org https://cache.nixos.org/
trusted-public-keys = hydra.iohk.io:f/Ea+s+dFdN+3Y/G+FDgSq+a5NEWhJGzdjvKNGv0/EQ= iohk.cachix.org-1:DpRUyj7h7V830dp/i6Nti+NEO2/nhblbov/8MW7Rqoo= cache.nixos.org-1:6NCHdD59X431o0gWypbMrAURkbJ16ZPMQFGspcDShjY=volume
These are included to avoid long build times, as noted in the documentation (that says “If you want to use Nix with this project, make sure to set up the IOHK binary cache . If you do not do this, you will end up building GHC, which takes several hours. If you find yourself building GHC, STOP and fix the cache”).
If the file nix.conf is none existent, then make sure you create it and add the content to the files.
mkdir /etc/nix
touch /etc/nix/nix.conf
chmod +x /etc/nix/nix.conf
3) Restart the machine#
As noted in the Cardano StackExchange , you have to restart the machine every time is required through the process to avoid issues.
After the restart, verify the installation by running the following commands (after each command you can see the expected output, which should be identical).
❯ nix doctor --verbose

Running checks against store uri: daemon
[PASS] PATH contains only one nix version.
[PASS] All profiles are gcroots.
[PASS] Client protocol matches store protocol.
❯ nix --version

nix (Nix) 2.5.1
Also, double-check the /etc/nix/nix.conf file to confirm that the changes made previously persist after the restart, otherwise you’ll have very long build processes
.
3) Clone the repository#
Assuming that you have git installed (otherwise find instructions here , or the original documentation ), clone the repository.
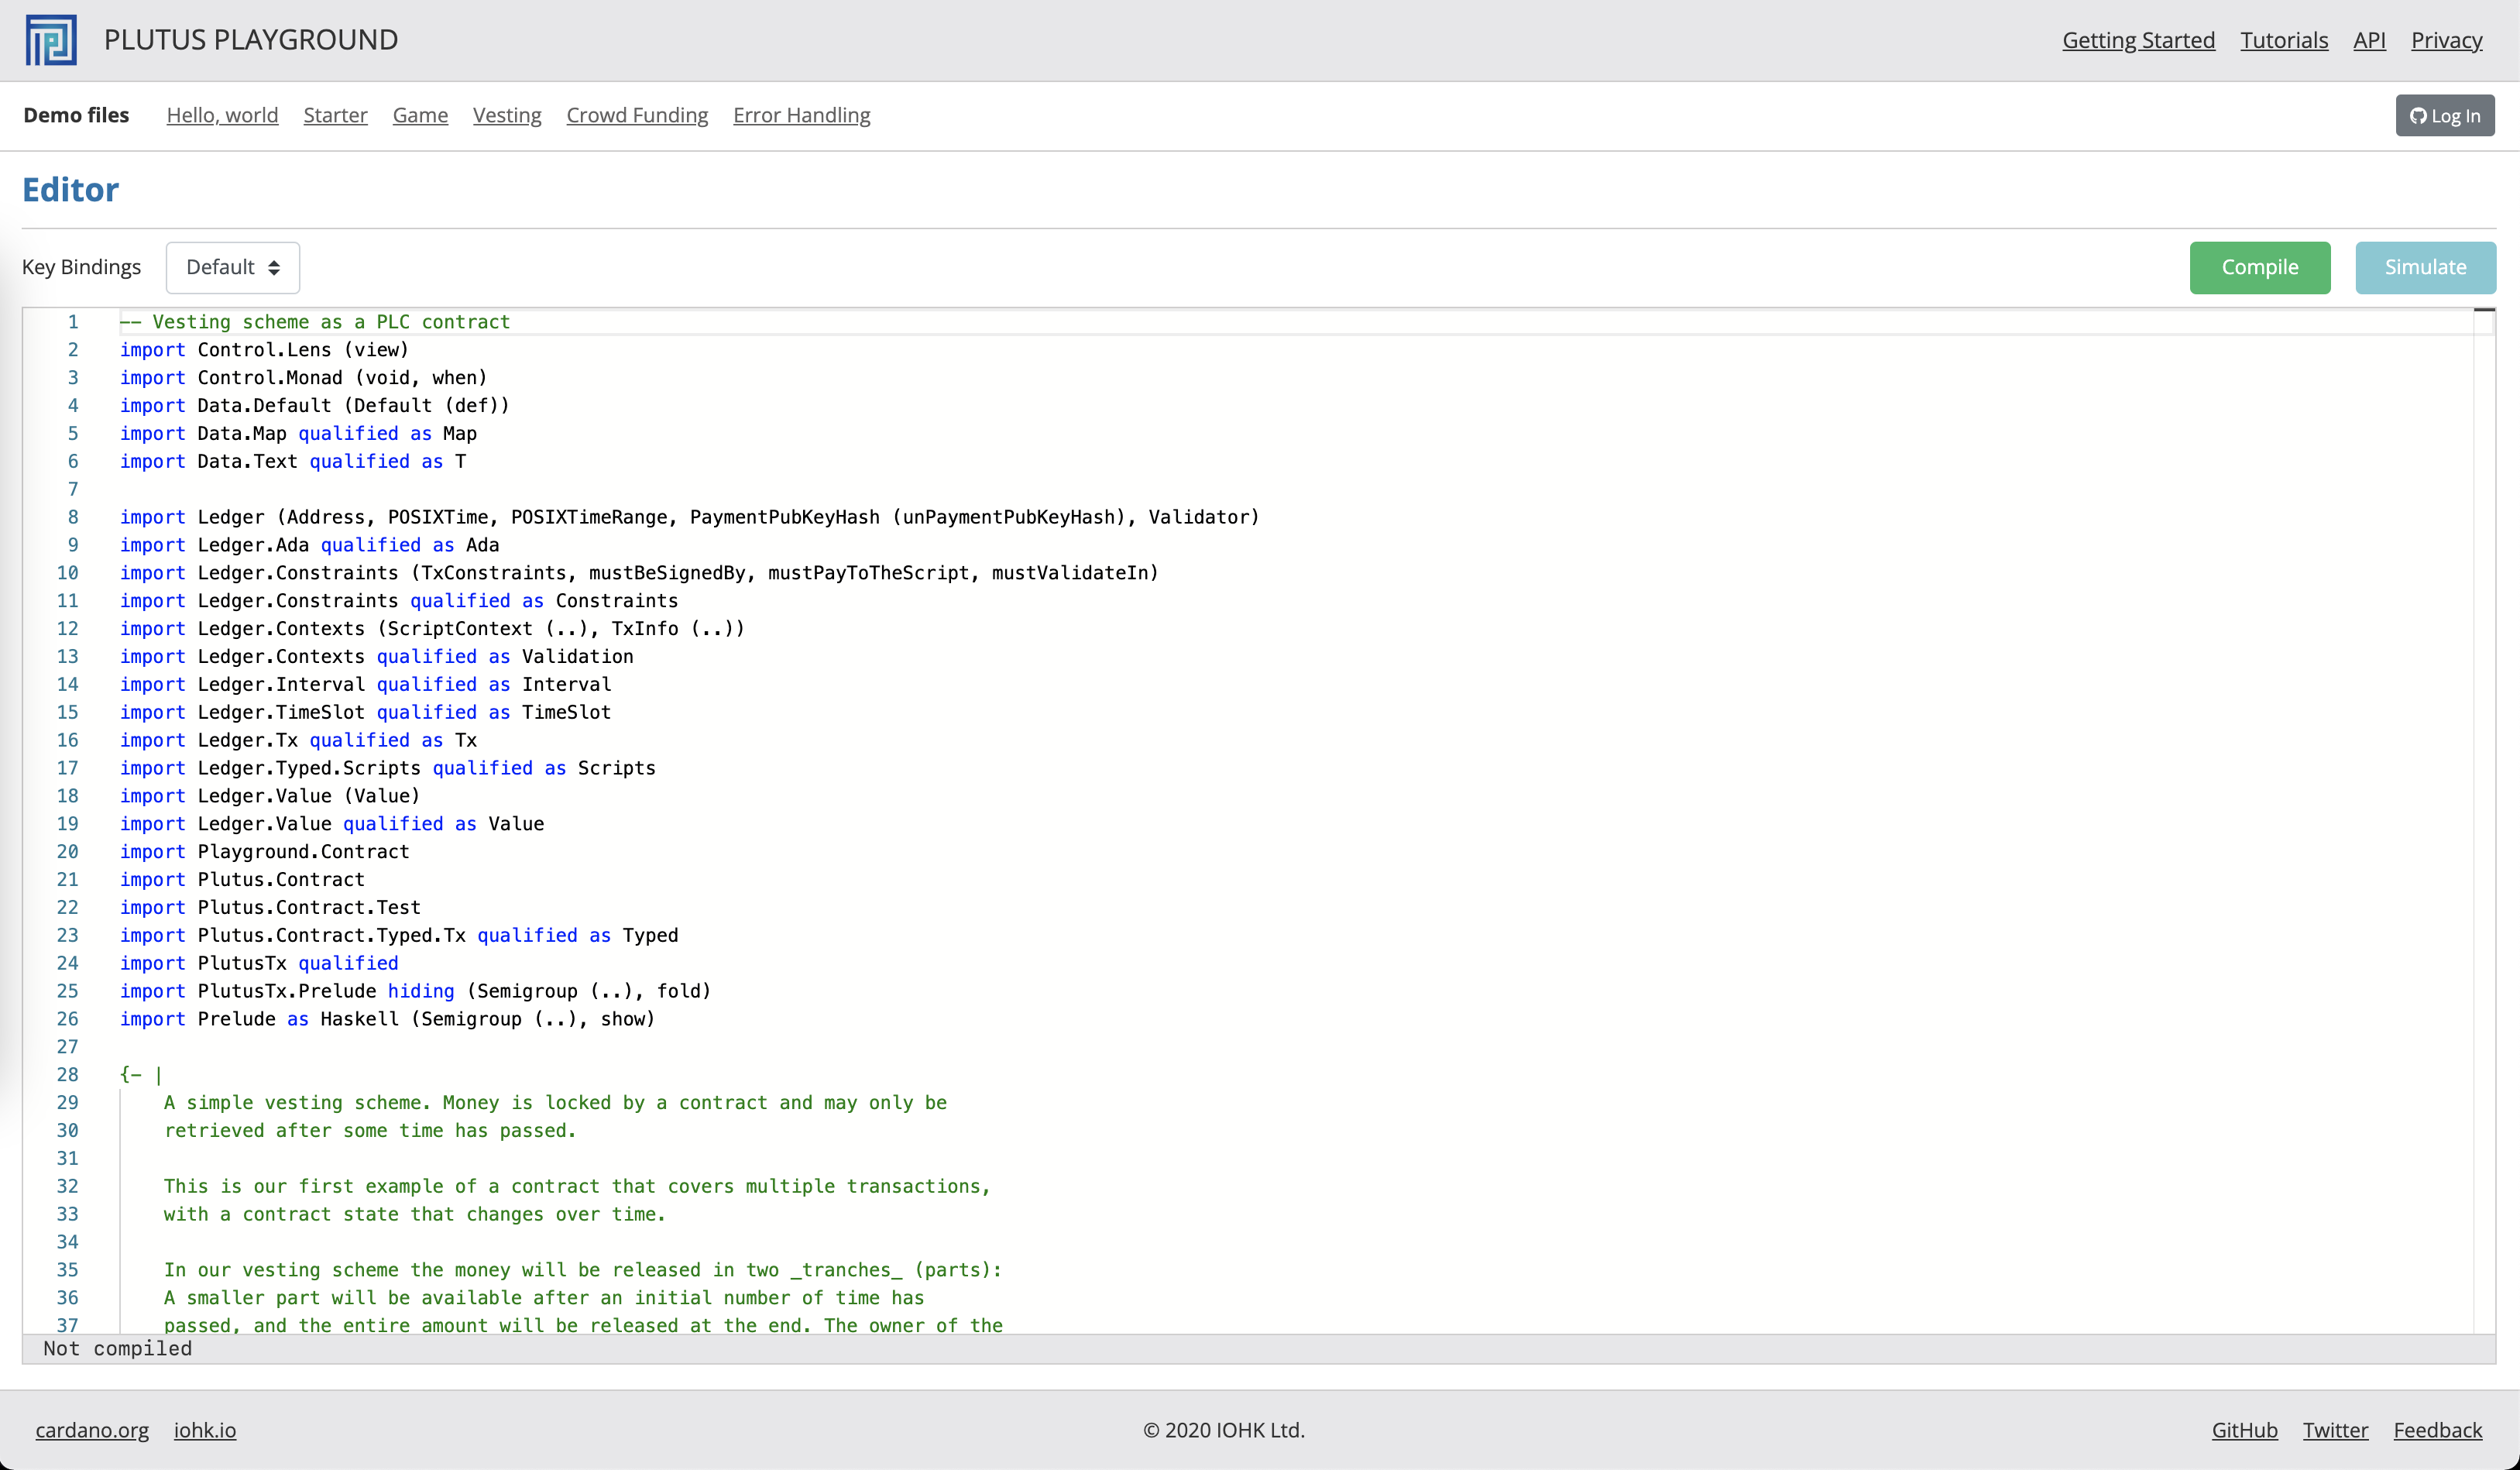
💡 The Plutus Application Framework, part of the Plutus Platform, is a framework for developing distributed applications using the Cardano blockchain. It also includes the Plutus Playground, a web-based playground for learning and writing basic Plutus Applications. If you’d like to find more information about the projects, see the User documentation .
Pay attention to the location where you want the repository to clean, recommended to have a directory in your machine for your studies and either clone to the subdirectory in the current work dir, or to a custom location.
git clone https://github.com/input-output-hk/plutus-apps
Or, to a custom location:
git clone https://github.com/input-output-hk/plutus-apps /path/dir1
The documentation states that we have to checkout the commit 41149926c108c71831cfe8d244c83b0ee4bf5c8a for some reason (here’s the stable PR
):
git checkout 41149926c108c71831cfe8d244c83b0ee4bf5c8a
Some users had some issues, which then claim that 7f53f18dfc788bf6aa929f47d840efa1247e11fd is more stable
From now on, we’ll call the repository to make it easy to follow!
4) Build the Plutus playground#
This section contains information about how to build the project artefacts for client use-cases (e.g. not as a contributor to the source code). The client documentation is available here .
Open the directory:
cd /path/to/<Plutus-Apps>
In the directory nix-build the Plutus Playground’s Service and Client:
GC_DONT_GC=1 nix-build -A plutus-playground.client -A plutus-playground.server
From what I understand, building the Plutus playground server should be enough though.
GC_DONT_GC=1 nix-build -A plutus-playground.server
The commands are prefixed by the GC_DONT_GC=1. The GC_DONT_GC is a garbage collector for the heap, to make the evaluator use less ram, GC_DONT_GC=1 just turns it off entirely, so it never GC’s ram during the eval.
It seems to be required every time in macOS, for some reason!
💡 When launching the commands from your filesystem shell session, you can add to your profile the following environment variable (for nix-shell, you’d have to do something similar)
export GC_DONT_GC=1
5) Start the nix-shell#
Running nix-shell will start an interactive bash shell, in the current working directory. The required packages will be downloaded, but not installed globally. Instead, the shell will have its ENV set appropriately so that all the packages in the shell definition are available.
We need to run nix-shell to be able to run the Plutus playground. Nix provide us with a reproducible environment for us to use to deploy and test our future Plutus smart contracts during development.
in the run the command:
CG_DONT_GC=1 nix-shell
The nix-shell process might take several minutes, feel free to do something else meanwhile. It’ll take less time after the very first call.
6) Run the Plutus Playground Service and Frontend#
It’s recommended to split the terminal windows for the Backend (Service) vs Frontend (Client UI). The Service, because it’ll run in the foreground and you’d probably want to monitor and a second split window, to run the commands to start the frontend application and launch it to your browser.
These are coupled because the Frontend, is a user interface to allow you to easily interact with the Plutus playground service; typically understood as Client and Service.
So, let’s start the Plutus playground server by running:
cd plutus-playground-server
plutus-playground-server
Or better, to prevent issues, prefix the plutus-playground-server with GC_DONT_GC=1
GC_DONT_GC=1 plutus-playground-server
You’ll get the following output (at least that’s what we got at the time of running):
plutus-playground-server: for development use only
[Info] Running: (Nothing,Webserver {_port = 8080, _maxInterpretationTime = 80s})
Initializing Context
Initializing Context
Warning: GITHUB_CLIENT_ID not set
Warning: GITHUB_CLIENT_SECRET not set
Warning: JWT_SIGNATURE not set
Interpreter ready
In a separate terminal window, open the directory and launch nix-shell (it’ll be much faster this time ).
GC_DONT_GC=1 nix-shell
Now, similar to the service, we are going to cd and launch our frontend application. If you are familiar with modern frontend applications, that’s what you are dealing with at this point.
Open the plutus-playground-client:
cd plutus-playground-client
We’ll then install the project dependencies:
yarn install
Or, as we’ve been doing, prefix the command with GC_DONT_GC=1
GC_DONT_GC=1 yarn install
💡If familiar with Javascript tooling, you’ll know that you can instead of yarn package manager use npm (e.g. npm install).
⚠️ At the time of writing, I found an issue where the plutus-playground-server file or directory is not found (might not happen on your machine, if you’ve prefixed every command with GC_DONT_GC=1, as suggested). This seems to be a known issue and at time of writing didn’t find any good read to help solve, but found a solution:
/nix/store/2nr8xfy3zqdgxfmxlc3r48gijfdwbnrf-plutus-playground-generate-purs/bin/plutus-playground-generate-purs: line 6: /bin/plutus-playground-server: No such file or directory
error Command failed with exit code 127.
To mitigate the problem, edit the file presented in the output (which is a script); Prefix the build commands in the script, with the GC_DONT_GC=1.
Bear in mind, that the location of the file should be different, so copy from your output, mine serves as an example only!
sudo vi /nix/store/2nr8xfy3zqdgxfmxlc3r48gijfdwbnrf-plutus-playground-generate-purs/bin/plutus-playground-generate-purs
Here’s how the final changes look like, notice that prefixed every command with the CG_DONT_CG:
#!/nix/store/715y5lnw12vdcc3hh9sc9vbkdi6c83x6-bash-4.4-p23/bin/bash

GHC_WITH_PKGS=$(GC_DONT_GC=1 nix-build --quiet --no-build-output -E '(import ./.. {}).plutus-apps.haskell.project.ghcWithPackages(ps: [ ps.plutus-core ps.plutus-tx ps.plutus-contract ps.plutus-ledger ps.playground-common ])')
export PATH=$GHC_WITH_PKGS/bin:$PATH

rm -rf ./generated
$(GC_DONT_GC=1 nix-build --quiet --no-build-output ../default.nix -A plutus-apps.haskell.packages.plutus-playground-server.components.exes.plutus-playground-server)/bin/plutus-playground-server psgenerator generated
We can conclude that the flags in the commands here, --quiet --no-build-output are hiding the real issue, which is a segmentation fault caused by the garbish-collector, as discussed in the NixOS thread
.
After the changes, save the file and re-run the start command:
yarn start
The output should look something similar to:
1% setup initializeℹ 「wds」: Generating SSL Certificate
10% building 0/1 entries 0/0 dependencies 0/0 modulesℹ 「wds」: Project is running at https://localhost:8009/
ℹ 「wds」: webpack output is served from /
ℹ 「wds」: Content not from webpack is served from /Users/punkbit/www/cardano/plutus-pioneers-3d-cohort/plutus-apps/plutus-playground-client/dist
⚠ 「wdm」: WARNING in Src   Lib    All
Warnings   0     0/28   0/28
Errors     0     0      0

70 WARNINGS in child compilations (Use 'stats.children: true' resp. '--stats-children' for more details)
webpack compiled with 71 warnings
ℹ 「wdm」: Compiled with warnings.
A localhost for the Plutus Playground should now be available at your local address https://localhost:8009 , as declared in the output of your CLI, along with the webpack logs.
⚠️ Once you open the local URL through HTTPS, you’ll get a “SSL certificate is invalid” that you must accept to proceed!
💡 Change the webpack configuration to your needs, such as setting https to false, or the http port from 8009 to 8080, the file that holds this configuration parameters, if you are not familiar with frontend applications, is the webpack.config.js in the plutus-playground-client directory.
Conclusion#
Setting up the Plutus Playground can be a pain and might take several hours of your time. The current developer experience is underwhelming and hopefully, as more people learn the technologies around Plutus, collaborate and provide solutions, the developer experience should improve!
The article serves as the documentation for every step, I had to go through to have the Plutus Playground working in my local environment.
Hope this saves you time and congratulations if you reach this far!
References#
https://serokell.io/blog/what-is-nix
https://nixos.org/manual/nix/stable/introduction.html
https://github.com/Til-D/cardano-plutus
https://github.com/input-output-hk/plutus-apps#iohk-binary-cache
https://nixos.org/manual/nix/stable/command-ref/nix-shell.html
https://nixos.org/guides/nix-pills/developing-with-nix-shell.html
https://ghedam.at/15978/an-introduction-to-nix-shell